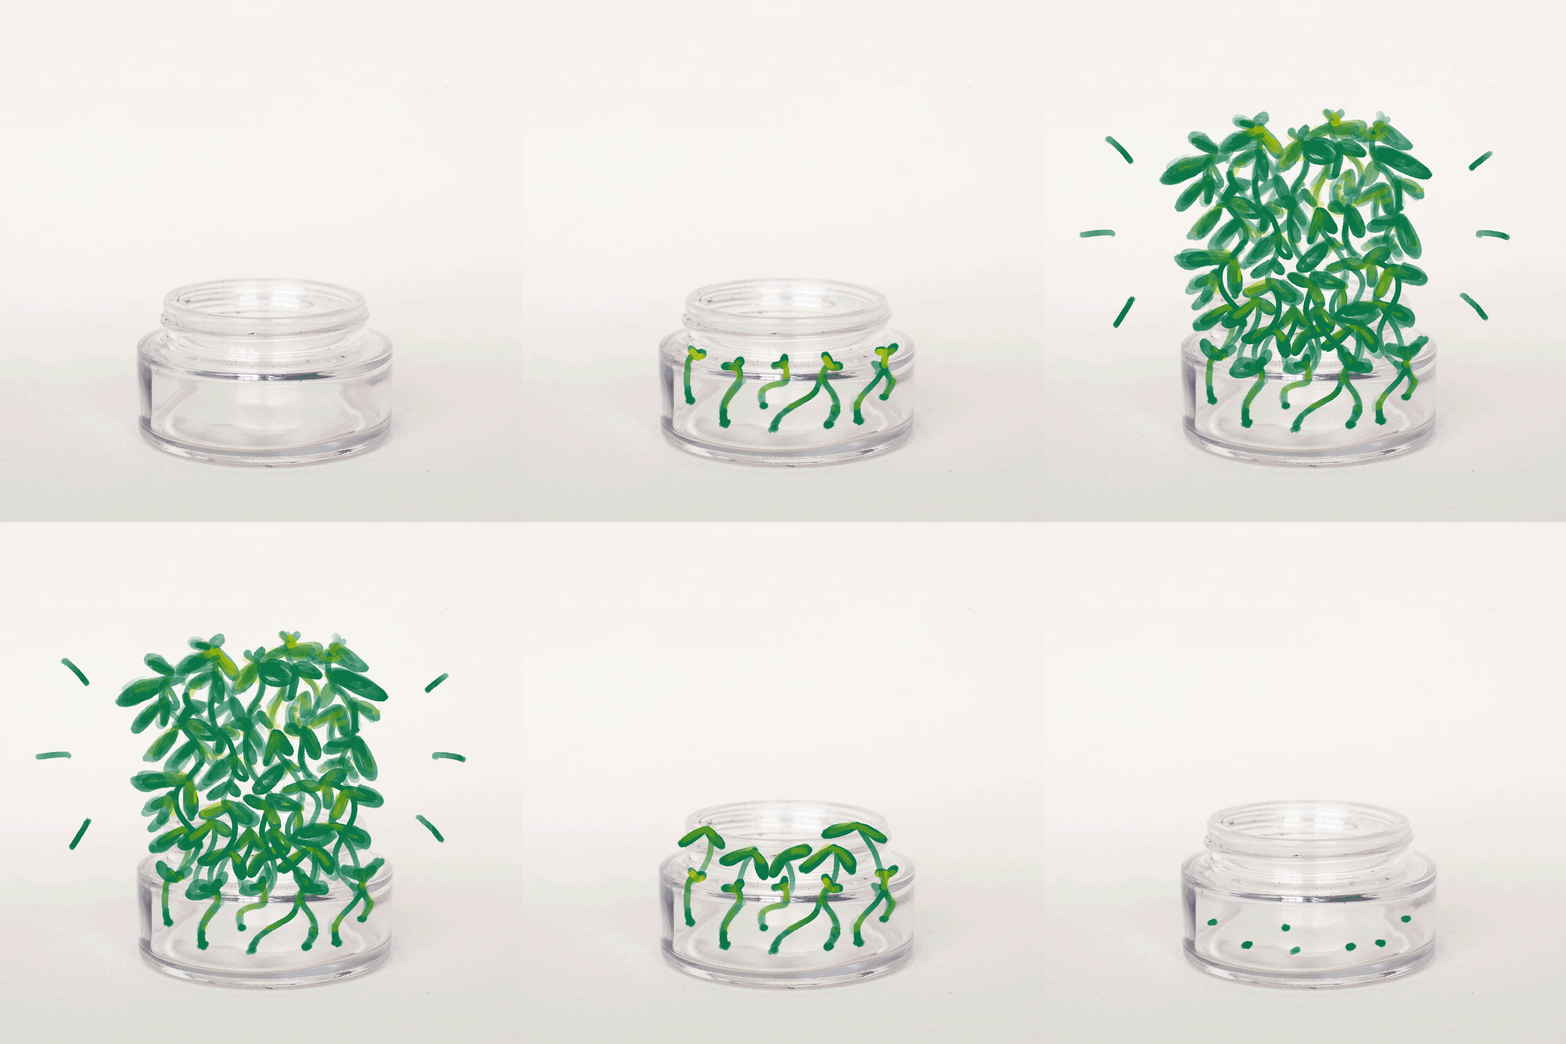
If you think most glass packaging is easily recyclable, your thinking might be a bit wishful. A recent study found that only 33.1% of glass containers are actually recycled—no matter how much goes into the recycling bin. That’s why here at Verist, we take sustainability a step further by packaging our products in containers that are versatile and high-quality enough for upcycling. When you can repurpose your empty containers for something useful, you get the double satisfaction of saving money and knowing you’ve rescued another item from the landfill. So, since it’s almost summer and we’ve all got planting on the mind, let’s talk about how to use your empty Verist containers to start your very own windowsill herb garden. Ready? Let’s get started!
GROWING HERBS AT HOME
Whether you live in a downtown studio or a farmhouse in the country, adding some fresh greenery is a great way to brighten any space. Choosing herbs for your windowsill garden offers a host of other great benefits, including:
- Saving money in your monthly food budget
- Having fresh ingredients you need on hand
- Valuable antioxidants and antibacterial properties that can be lost in store-bought herbs
- Reduced packaging waste
Follow the steps below to get your herbs going.
MATERIALS YOU’LL NEED
|
|
|
|
|
|
|
|
|
Step 1: Select
We recommend basil seeds to get started because they’re easy to grow and do best at room temperature (about 70˚F). If basil isn’t your thing, you could also try cilantro, parsley, dill, chives or marjoram.
Step 2: Clean
Once you have your seed, you need to prep its home. The jar we’re using is from our 4-oz Good Night body butter. Prep your jar by washing thoroughly and drying completely—we recommend using dish detergent to cut through any remaining oils in the jar.
Step 3: Prep
Add small pebbles to the base of your jar, spreading them evenly along the bottom. Next, dampen your potting soil by grabbing a handful and slowly wetting it under the faucet until it can be held together without being muddy. From there, add it to your jar, placing it lightly on top of the rocks. Avoid packing the soil, as leaving it loose creates better drainage for your seedlings.
Step 4: Plant
It’s time to plant your seeds! A general rule of thumb is to plant the seeds about ¼ inch below the surface of the soil. Place three or four seeds in a shallow hole in each jar and cover them with a small amount of soil. Carefully spritz your seedlings with water, making sure to keep them moist but not overwatered. As your plants grow, only water when the soil is dry to the touch. This helps avoid overwatering and root rot, ensuring your plants stay healthy.
Step 5: Grow
Give your basil seedlings about 7-10 days to sprout. Other herb varieties may take more time, but don’t be discouraged! Naturally, you’ll have a few seeds that don’t sprout, but if they all grow, simply trim some plants more than others or transplant into other empty jars to give them all the space they need to grow. Sprouts should be ready to enjoy by the third or fourth week after planting. Once you have a darling little basil plant, you can keep it small by continuing to cut back leaves for cooking. Should you choose to transplant your basil into a larger pot, you can now use your body butter jar as another seed starter!
NATURAL SOLUTIONS FTW
Starting your own windowsill herb garden is a great way to make healthy choices at home—and so is Verist. Our family-farm grown CBD remedies are made to bring you joy in a natural way—find what works best for you at shopverist.com/shop.


